At some point, you might run into issues having a WordPress plugin update—it's possible it breaks your website or removes a function you depend on. Downgrading could be the fastest repair, but you’ll really need to strategy it carefully in order to avoid more substantial challenges. Should you’re not sure where by to start out or how to make it happen safely, you’ll want a transparent, move-by-action program prior to making any alterations.
Factors You may Need to Downgrade a Plugin
There are lots of critical reasons you may perhaps need to downgrade a WordPress plugin. Sometimes, the newest update breaks compatibility with your tailor made concept or other crucial plugins, disrupting your site’s design and style or Main attributes. You might observe new bugs or general performance concerns correct following updating—a clear sign the new edition isn’t stable for your personal surroundings.
From time to time, plugin builders take away options you depend upon or introduce alterations that hinder your workforce’s workflow. You may also learn that selected integrations or third-celebration resources only aid older plugin variations, producing speedy compatibility a necessity.
Finally, downgrading helps you to restore site features, sustain a seamless consumer knowledge, and keep your innovation pipeline open up, giving you time to check out greater methods or look ahead to a far more stable update.
Examining Pitfalls Ahead of Downgrading
Before you roll again a plugin, it’s imperative that you weigh the opportunity challenges included. Downgrading may well fix your quick issue, but it may introduce security vulnerabilities, compatibility challenges, or simply crack options that other plugins or your topic depend on.
You’re fundamentally picking an more mature codebase which will deficiency the newest advancements or patches. Contemplate how this transformation could effects your site’s performance, user expertise, and future updates.
When you’re managing a dynamic company or modern job, an unstable internet site can undermine your trustworthiness and stall development. Don’t overlook dependencies—from time to time, one outdated plugin can set off a sequence response throughout your stack.
Assess no matter whether the many benefits of downgrading actually outweigh the pitfalls before you make the leap.
Backing Up Your WordPress Website
A reputable backup is your basic safety net whenever you make modifications on your WordPress web site, especially when downgrading a plugin. You don’t want to shed your effort or chance downtime.
Leverage modern-day backup plugins like UpdraftPlus, Jetpack, or BlogVault for automatic, cloud-dependent backups. These alternatives Allow you to quickly restore your website if anything at all goes wrong.
Often back up the two your database and files—this guarantees there is a comprehensive snapshot of posts, settings, and uploads. At the time your backup completes, validate it by restoring a check version or examining the backup logs.
Innovators know the value of the secure workflow, so by no means skip this step. With your internet site protected, you’re willing to shift forward with self esteem and agility.
Pinpointing the Plugin Variation You may need
Although downgrading a plugin can solve compatibility challenges or restore shed characteristics, you’ll should pinpoint the exact Edition essential for your internet site. Start by pinpointing when your web site very last ran smoothly, noting the plugin version Lively in the course of that interval. Check your backup logs, WordPress dashboard, or plugin changelog for particulars about prior variations.
If a specific update introduced complications, Examine launch notes to see which Model preceded the unwanted adjustments.
Next, evaluation plugin documentation and aid community forums to verify which version aligns using your WordPress core and topic. This investigation will help you keep away from new conflicts and guarantees you’re reverting to the steady launch.
Downloading the Previous Plugin Version
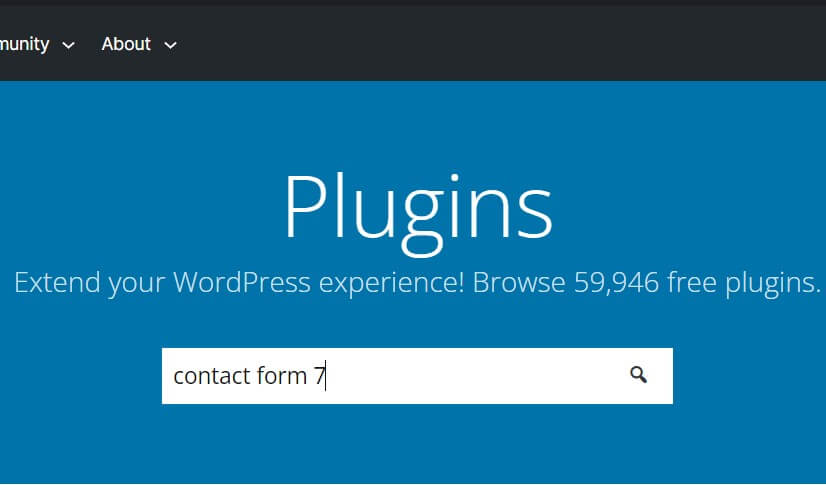
So, where do you discover the exact plugin Edition you need? Head straight on the WordPress.org plugin repository. Try to find your plugin, then simply click the “Highly developed Look at” connection how to downgrade WordPress plugin version on the right sidebar.
Scroll all the way down to the “Former Versions” portion—right here, you’ll see a dropdown with each individual earlier Model. Choose the Model you would like, and download the ZIP file straight to your Personal computer. This Formal technique assures you’re having authentic, untampered data files.
If the plugin isn’t detailed on WordPress.org—perhaps it’s a top quality or custom made Alternative—take a look at the developer’s site or your account dashboard. Lots of developers maintain archives for preceding releases. Always confirm the resource to ensure security.
With the correct Variation downloaded, you’re now Geared up to roll back confidently, minimizing downtime and compatibility headaches.
Deactivating and Getting rid of The existing Plugin
Ahead of setting up the more mature plugin Model, you’ll should deactivate and take away the current 1 to avoid conflicts. Head for your WordPress dashboard and choose “Plugins” within the sidebar. Track down the plugin you wish to downgrade. Simply click “Deactivate” to make certain it’s not operating.
At the time deactivated, the “Delete” option appears—go on and click it. Validate the deletion when prompted. This action cleans your internet site of any files or configurations from The present version, lowering the chance of compatibility troubles or lingering bugs.
Getting this action guarantees you’re starting refreshing While using the past Variation as an alternative to layering adjustments. By eradicating The present set up, you’re making a smoother route for innovation, making sure your downgrade proceeds without having unwanted technical obstructions.
Enable’s maintain your WordPress ecosystem agile and economical.
Setting up the Older Plugin Edition Manually
When you’ve removed the current version, it’s time for you to manually install the older plugin Model you like. Head to your plugin’s official WordPress.org page and click the “Superior Look at” website link.
Scroll right down to the “Preceding Variations” part, pick out your required version within the dropdown record, and down load the ZIP file.
As part of your WordPress dashboard, go to Plugins > Add New, then click “Add Plugin.” Choose the ZIP file you just downloaded and hit “Set up Now.”
Enable WordPress handle the add and set up. When prompted, click on “Activate Plugin” to permit your downgraded Edition.
This manual technique helps you to keep nimble and responsive, making certain you’re in charge of your website’s performance though leveraging legacy attributes that match your progressive tactics.
Tests Your web site Soon after Downgrade
With all your most well-liked plugin Variation installed and activated, it's important to make certain your site however runs smoothly. Start out by clearing your browser cache, then go to your homepage and significant internet pages where by the plugin is active.
Look for damaged layouts, missing characteristics, or unforeseen glitches—specifically in areas the plugin directly influences. Exam unique workflows or custom made functionality you’ve built with the plugin to substantiate almost everything behaves as predicted.
If your web site depends on e-commerce, membership, or other dynamic things, entire a number of take a look at transactions or consumer actions. Don’t ignore to evaluate your internet site on the two desktop and cellular devices.
If you see any challenges, document them and look at no matter if another Model or extra troubleshooting is necessary. Thorough screening guarantees your downgrade fuels your website's ongoing innovation.
Stopping Automated Plugin Updates
Immediately after efficiently downgrading your plugin, you’ll want to prevent WordPress from quickly updating it back again to the newest Variation. Automatic updates can quickly undo your very careful do the job, so it’s good to choose Manage.
Navigate to your WordPress dashboard, head to the Plugins webpage, and locate the downgraded plugin. Click on “Disable vehicle-updates” underneath the plugin’s identify. This halts automatic updates for just this plugin, letting you innovate without the need of interruption.
For all the more Handle, you may insert a filter within your concept’s capabilities.php file or simply a personalized plugin. Make use of the code:
```add_filter( 'auto_update_plugin', '__return_false' );```
This method disables all plugin car-updates, so use it sensibly. By blocking computerized updates, you sustain your required plugin Variation and foster a steady, tailored ecosystem for your web site.
Best Practices for Plugin Variation Management
Getting control of plugin updates is just one Element of retaining your WordPress internet site dependable. To truly innovate, you’ll want to adopt intelligent plugin Model administration practices.
Commence by documenting which versions you employ and why you’ve chosen them. Consistently critique your plugins for compatibility with WordPress Main updates. Before making variations, normally again up your website and check new variations with a staging atmosphere.
Use version Command instruments or changelogs to track plugin alterations and identify potential conflicts early. Restrict the quantity of plugins you install, focusing only on people who incorporate true benefit.
Summary
Downgrading a WordPress plugin isn’t challenging in case you abide by these steps diligently. Normally back up your web site initial, obtain the exact plugin Variation you will need, and exam anything just after set up. Don’t ignore to stop computerized updates so your changes stick. By being proactive and careful, you’ll keep away from downtime and incompatibility difficulties. With reliable backup patterns and plugin administration, you may keep the WordPress website operating effortlessly, regardless if you have to roll back a plugin version.